Whether you’re a professional photographer or a photography enthusiast with a smartphone, you’ll often find the best subjects and settings for your photos at night. This can be as simple as a night out with your friends and family, or even the outdoors under a moonlit sky. Either way, there are a few simple things you can do to make sure your pictures look better, even in low-light conditions.
These tips apply to users of both smartphones and dedicated cameras and are easy enough to figure out without too much effort or the need for complicated equipment, but keep in mind that taking a good picture requires patience and attention to getting things right. Read on to find out how you can improve your low-light photos.
Use flash
This might seem obvious but is often forgotten: use flash in certain situations. When taking pictures in very dark conditions, particularly of people or selfies, flash can help illuminate the subject just enough to get a good picture. Your smartphone’s built-in flash, or even a separate flashlight for professional photographers, is a valuable tool to add light into the frame where there is little or none. Although it can make pictures look strange at times, it’s worth remembering in some situations.
ALSO READ: 6 mobile photography tips to level up your Instagram game
Frame your photos around light sources, shoot in black-and-white
Depending on the subject of your picture, you can usually frame your pictures to take advantage of ambient light sources around you, even in low-light conditions. This can be something as simple as street lighting, an illuminated sign board, a bonfire, or even moonlight. Try to place the source of the light behind you, so it shines onto the subject of the photo.
Careful focusing and framing using ambient light sources can help give your photos a natural, yet aesthetically appealing look. This can even mean placing your subject in a way that it faces the light, if possible. Similarly, shooting in black-and-white can allow for more detail to be captured with less grain and noise in the image, and could make for pleasing images that are free of too many visible flaws.
Play around with the ISO, shutter speed, and aperture settings
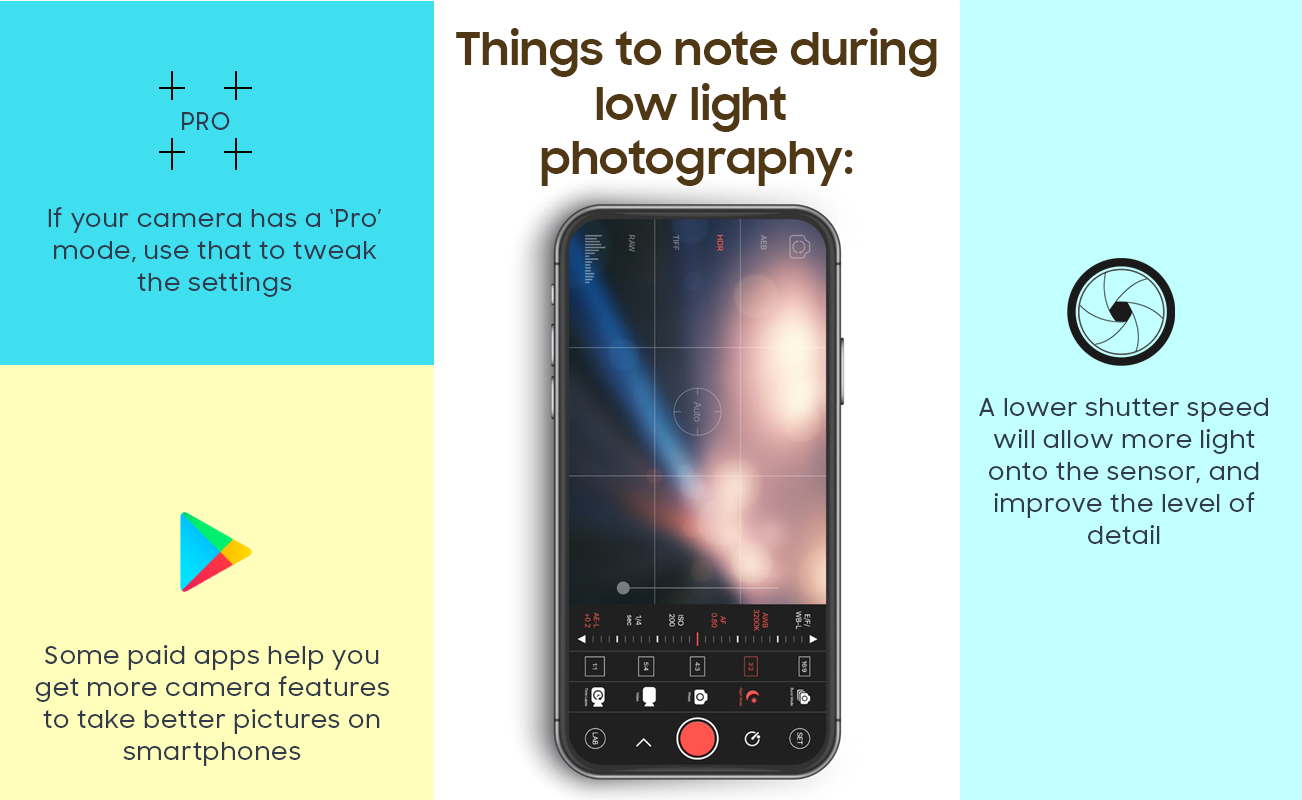
Your ability to tweak and modify the settings depends on your camera; DSLR and mirrorless professional cameras generally allow much more customisation and adjustment, but many modern smartphones also have a ‘Pro’ mode that will let you adjust basic settings. If you can, play around with the ISO, shutter speed, and aperture settings on your smartphone or camera until you get the right combination that works for your specific lighting conditions and subject.
ALSO READ: How to make your smartphone pictures and videos look professional
Increasing the ISO will allow light to reach the sensor faster while reducing the sharpness a bit, so try to find a balance between the two that makes low-light photos look better. A slower shutter speed will also allow more light and exposure on the sensor and achieve a similar result but could cause blurring with movement in the frame. The wider the lens aperture, the more light gets in, so this will similarly allow more detail to be generated in the picture, even in low-light conditions.
Use a tripod, shoot in RAW
Shooting in RAW format allows for much more data and detail to be captured in the image while making the file sizes much larger. This is the preferred format for professional photographers, and many smartphones also support the format, which does not compress data when generating digital images. This will help to capture more detail in low-light shots, and these images can then be processed or edited on a computer for convenience.
You can also use basic equipment such as a tripod to stabilise the camera or smartphone when shooting in low light. This will eliminate shakes and blurring which are more likely to affect the image in low-light conditions. If you don’t have a tripod, you could even lean against a wall or rest your arms on a flat surface such as a table or ledge, to ensure stability and fewer shakes when shooting.

Unleash your inner geek with Croma Unboxed
Subscribe now to stay ahead with the latest articles and updates
You are almost there
Enter your details to subscribe

Happiness unboxed!
Thank you for subscribing to our blog.
Disclaimer: This post as well as the layout and design on this website are protected under Indian intellectual property laws, including the Copyright Act, 1957 and the Trade Marks Act, 1999 and is the property of Infiniti Retail Limited (Croma). Using, copying (in full or in part), adapting or altering this post or any other material from Croma’s website is expressly prohibited without prior written permission from Croma. For permission to use the content on the Croma’s website, please connect on contactunboxed@croma.com
- Related articles
- Popular articles


Ali Pardiwala
Comments